Or as I like to call it
Magic Trick, Bitches!
Alright, for this mod you will require
a Pin vise with a 0.9 mm bit fastened into place.
A pointed single edge exacto blade fastened into place (don't know the type, but they're standard with most exactos- the longer the point the better, more on this later)
A Kampfer 1/100 MG kit. (Completed or partially constructed preferable)
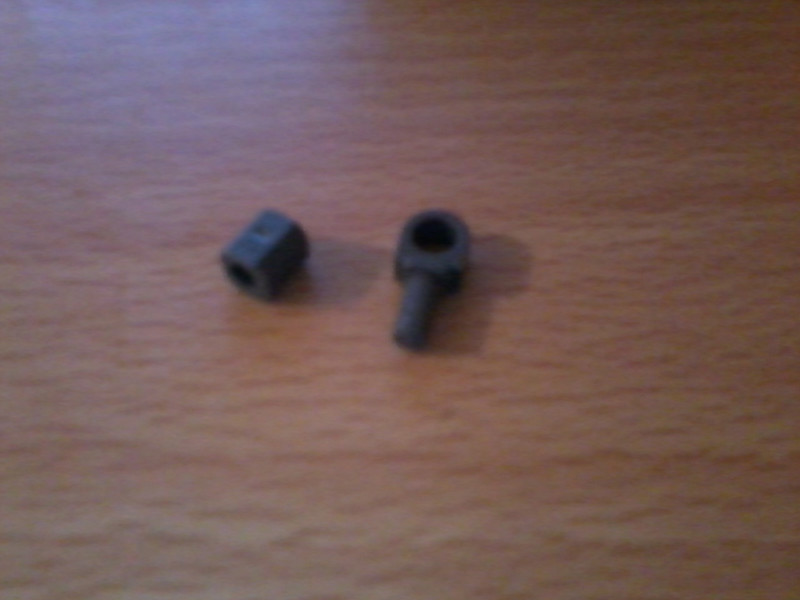
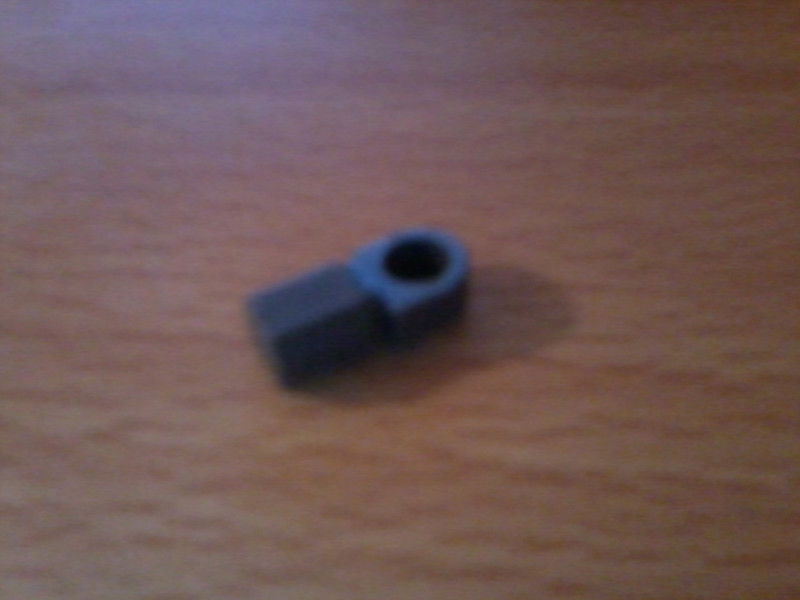
Spare compatible parts. I used
H 16 and H 17 (your manual will indicate that you do NOT use these parts in the construction of this kit)
and PC-122 (the poly cap sheet) PC-T
Here's a pic.
PC T and H 17 fit. H16 creates a hinge with H 17.
Alright, phase 1
Get a good feel for the parts in question. Don't be afraid to talk to your parts, your kit, or your tools. They are your partners, children, and friends.
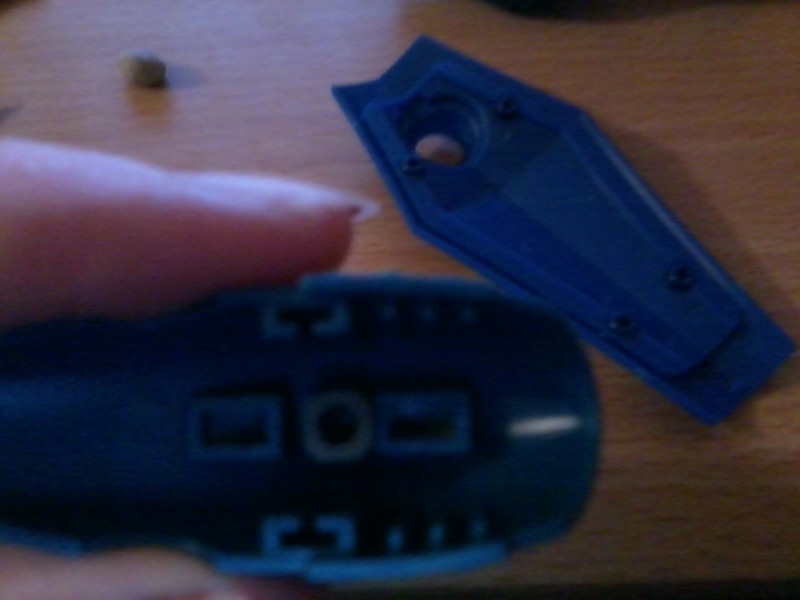
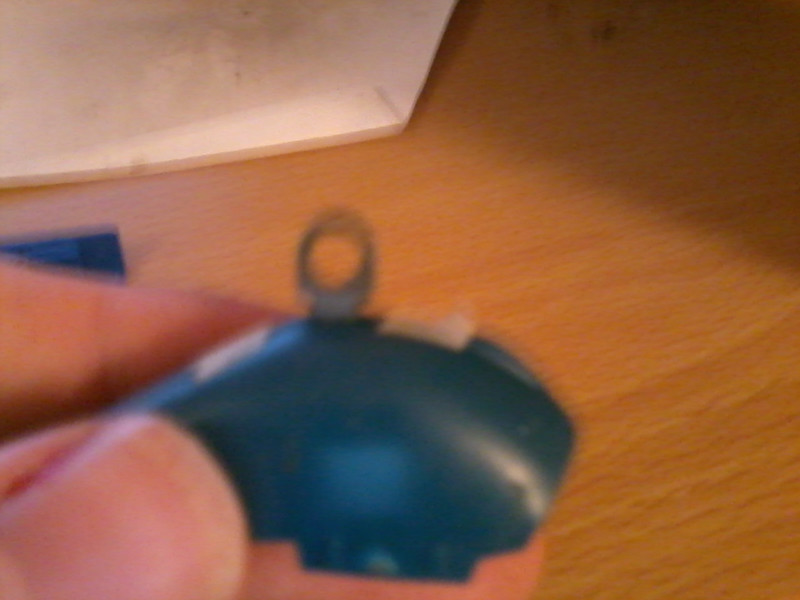
Now, lift off the elongated forearm cover of the arm you wish to modify (you should have enough parts to do both)
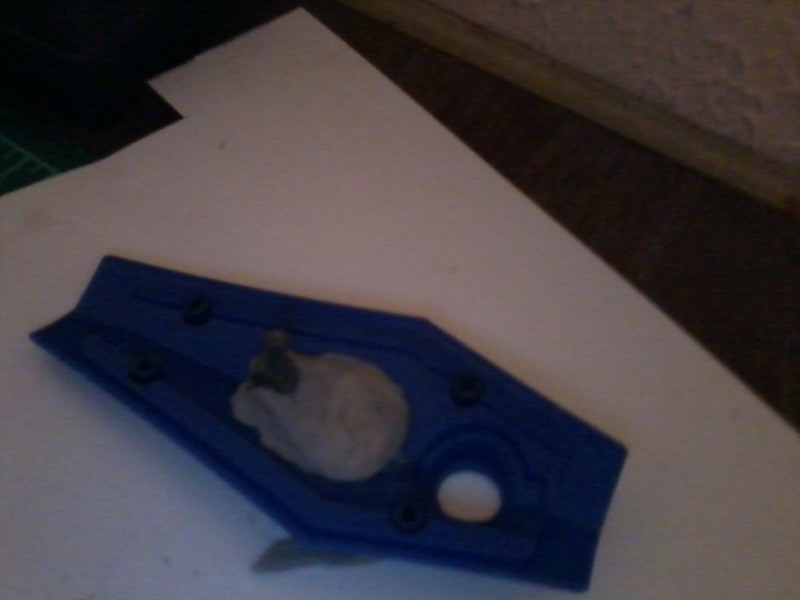
On the underside of the armor you'll see where the armor fits onto the skeleton of the mech.
Those two sockets on either side of PC-T
The area you will be removing is a small circle between the sockets. The place where PC-T is resting presently.
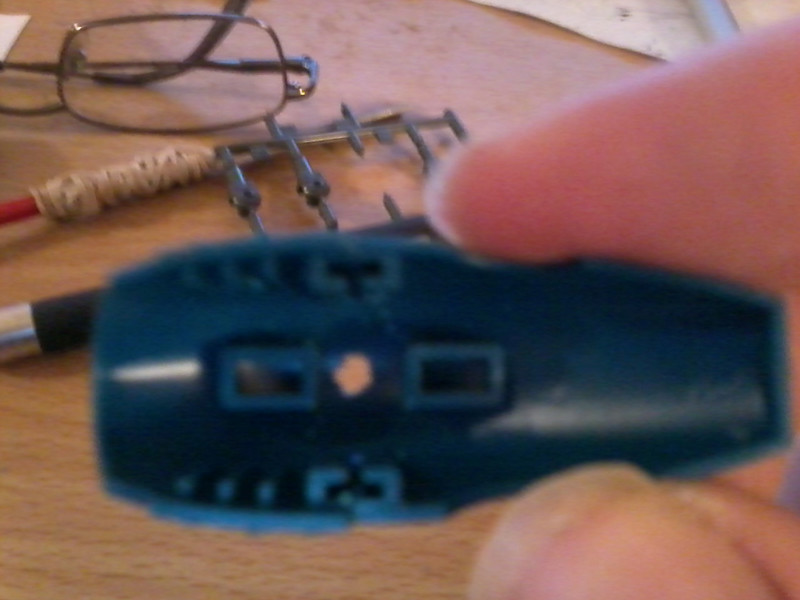
Now, take your pin-vice and drill a hol in the center of the area between the sockets.
I preferred to drill from the underside of the armor where I could clearly still see the brackets and knew not to meander too close to them.
Once this initial hole is completed, drill a five point star as close as you can to the first hole in the center without sliding off into adjacent holes.
This will create a five point webbing that's very near a circle
Very very carefully take your exacto knife and knock out the connecting plastic between the holes you drilled, and then sand or cut the large irregular hole.
I mostly used the exacto knife here to very carefully shave the irregularly shaped palstic until I had a circle
I have to admit though, I also busted out my semi-circle jeweler file to smooth the edges when I was done, but this was mostly cosmetic.
Now,
the objective here is to create a hole big enough for H17 to fit through
but NOT
big enough for PC-T to fall through. Granted, PC-T is a cubic shape and you've created a very tiny hole here.
My advice is to shave away the irregular plastic into a circle incrementally. Make a pass or two shaving one semi circle, lift the knife- inspect the hole with PC-T underneath, or try to pass H17 through.
Once H17 passes without any resistance, (and PC-T is still in place) you're done!
You now have a peg in the forearm that can support a pin!
You could make any myriad of forearm launchers or shields that would fit on the H17/H16 hinge!
... oh
we're not done yet.
Place PC-T on the underside, place H17 inside the hole so PC-T is secured in the underside of the armor.
Now
Put the forearm plate back into place on the skeleton and pull H17 out.
...
No cutting PC-T
No glue
No putty.
PC-T is now secured in place under the forearm plate.
The sockets on either side hold it in place and keep it from sliding around- and as the sockets are locked in place- the pressure holding the arm together is greater than the resistence of PC-T pushing UP on the forearm.

Physics!
I did NOT think this would work.
Shake it, reposition it- put the pin in and wiggle around a bit
nothing.
Secure.
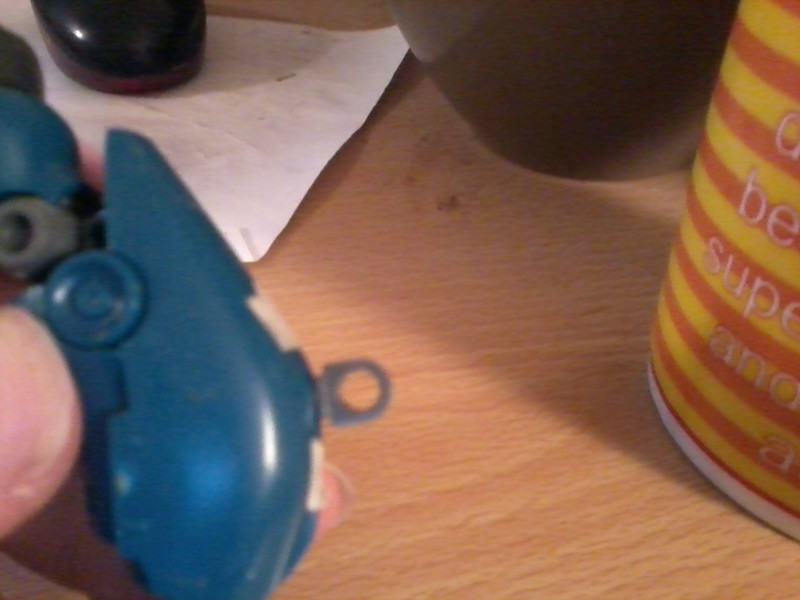
Now, what I've done with my H16/H17 is I pulled H17 out, attached it to H16, and I placed H16 down against the cross section of the underside of my Gouf shield.
Then I secured H16 with super glue and epoxy putty (hopefully its secure) and left H17 room to bend.
The shield can now spin on H17 and pivot slightly.
I still have an H16/H17 and PC T handy.
I am thinking about doing this mod again
and I am thinking about putting on a forearm gatling gun.
Or... a forearm beam saber.
... that's another day though, and its not true to my Commander Kampfer.
Oh...
and you don't HAVE to do this mod on the Kampfer, but geeze, it sure did work out well on it. Had a lot of space in between those forearm connectors and the armor.